M1 isn’t really a proper user release, but more for people interested in the development work. And it hasn’t got any help text or instructions!
Here’s a very brief quickstart for anyone downloading and playing with the application.
Getting started
- Unzip the download package
- Drag the FeedForward folder to where you usually run applications
- Double-click the application icon
Setting up inputs
- Click the “Inputs” button on the toolbar
- Click the “+” button in the left-hand panel and enter a name for your input group
- Select the new group you created
- Drag some RSS & Atom feed links onto the right-hand panel. You can also drag the site URLs and the program will have a go at finding RSS & Atom links in the page
- Close the Inputs window. FeedForward will now gradually poll the sources you’ve provided and build up the input.
Setting up services
- The “Services” panel is the rightmost panel. Click the “+” button at the bottom of the panel
- Step through the wizard that appears
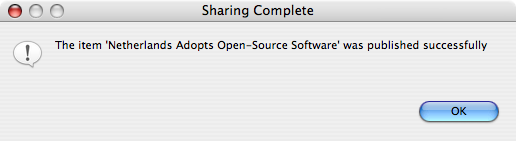
- When you click “Finish” in the wizard, the new service setup will be visible in the panel. You can now drag items onto this service to publish them. It does this asynchronously – the little status icon in the bottom right of the application has a green exclamation mark when its completed – click on this to see the service status:
Setting up contexts
- The “Contexts” panel is the shaded center panel. Click the “+” button at the bottom of the panel
- Click the new “Untitled” context label and type a new name for it
- Drag items from the Radar (the panel on the left) onto your new context
- Double-click the context to open its contents in a new window.
Creating a SWORD service
This isn’t really completed in the UI, but can be setup manually. To create a SWORD service, you start by creating a service of any other kind (e.g. Simpy). Then double-click the new service to get the edit dialog. In there, you need to select SWORD as the service type. Enter the collection deposit URL (NOT the service deposit URL) into the URL field, and set your username and password. The icon will change to a SWORD icon when you click OK.

You can now drag things onto the SWORD service to start depositing them. Note that at the current stage of implementation there is no file-type matching, so you need to know what each service will accept. As an experiment, we allow you to drop a Context onto a SWORD service, and this will create an IMS Content Package and deposit it; though this will only work with IntraLibrary at present.