Learning about an interoperability specification such as a QTI 2.1 becomes easier when you can see it working in a set of tools. In this post, we’ll create a very simple test using three freely available tools.
Item creation
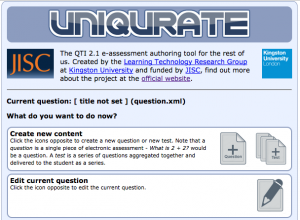
We’ll get started with making an item, and we’ll use Kingston University’s Uniqurate. As an item and test editor it’s limited in what types of question items it does, which is also its virtue; it’s nice and simple.
Since we’re making just an item, we click “+Question”, and then hit the pencil and paper icon to edit the content of the new item we’ve just started.
The editing window already has boxes for the title of the item and the prompt- the item’s instructions. We’ll make a question about cities in Arizona, and ask people to pick those cities that are in that state from a list.
Since we’re doing a multiple choice question, we’ll pick the multiple choice widget from the list of components on the left, and drag it into the free slot underneath the prompt. Then we’ll start filling it with cities. Click “+” to add a slot, give each correct choice a score of 1, and each incorrect choice with 0. The maxchoices should be set at least to the number of all the correct choices.
To see what the item’s code looks like, hit the “Expert Mode” button. Be aware that changing the code in expert mode may not be retained when going back to easy mode.
Hit the save button, and save either the file or content package to a convenient place on your machine.
While Uniqurate is perfectly able to make tests itself, seeing whether the QTI item can be integrated into a test by another tool is a nice demonstration of interoperability, so we’ll use BPS Onyx for that.
Test creation
We start by hitting the “Create test” link, and giving the new test a name. The default test gives a good idea of the basic structure of a QTI 2.1 test.
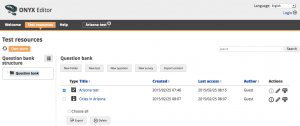
To add the Arizona item to the test, it first needs to be added to the question bank, so we navigate to “Test resources”. In there, hit “Import content”, select the item, and hit upload.
Then we click on the edit button of the test we made to add the item. Highlight the section we want to put the item in, and hit the “Question bank” folder icon. Select the item in it, and click “Add an element”. The tabs on the item as well as the section and test give a good idea of all the configuration possibilities.
Once the test is done, hit “Save test”, then “Test resources”. Select the test in the list, and hit “Export”, and save the test package in a convenient place.
Running a test
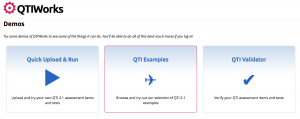
To run our test, we’ll use QTIWorks. Click “Demos”, then “Quick Upload and Run”. While you click through the test, be sure to hit “Open Author’s feedback” to view all the state information QTIWorks collects about the test. All of this information is available in standard QTI results XML for each test of each candidate. 
QTIWorks also has a number of QTI example items and tests readily built in. The full collection gives a very good idea of all the capabilities of QTI 2.1, and hitting the “Open Author’s feedback” link allows you to inspect the XML, as well as see what it does.
Uniqurate, Onyx and QTIWorks are not the only readily available QTI tools. Be sure to have a look at TAO too for a complete open source solution.
